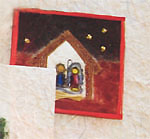
You only need a small capital for a home based business opportunity making greeting cards. Aside from paper you can use different kinds of materials to decorate your cards. Be creative and resourceful to make beautiful and unique cards. The return of investment is very easy if you are just industrious enough on selling. Below are the materials needed to make a simple greeting card:
- 5″ x 10″ Handmade paper ( Thick )
- 3″ x 3″ Handmade paper ( Thin )
- Plain white paper / bond paper
- Tracing paper
- Coloring materials ( e.g. poster paint, water color, oil pastel, colored pencils)
- Pencil (ordinary pencil 8B)
- Ballpoint pen without ink
- Sign pen
- Paint Brush
- Decorative materials like coconut fiber, bamboo shavings, paper twines, abaca twines, dried grass, dried flowers and leaves)
- Glitters
- Acrylic Emulsion
- Scrap cloth
- Bamboo stick
- Plastic
- Glue
- Scissors
How to Make a Greeting Card:
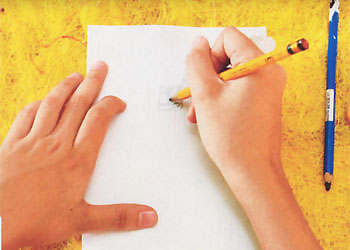
1. Make a Sketch. Make a sketch on a piece of white paper preferably a bond paper using an ordinary pencil. Make the design small and should not exceed 3″ x 3″ area. Make the design as simple as possible for it to be looking neat.
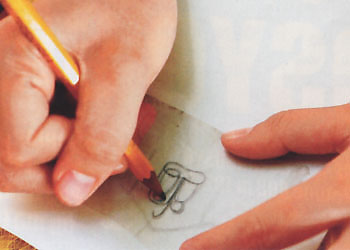
2. Transfer the Design. Trace the design you made using the tracing paper and an ordinary pencil. Then flip the tracing paper and trace again the design at the back using an 8B pencil. This is for making a carbon effect to transfer the design again to the hand made paper. Then get the 3″ x 3″ hand made paper and superimpose the tracing paper then trace the drawing using a ball pen with no ink (that’s that carbon effect). Be careful not to puncture the tracing paper which you can use again for tracing. I think if you have a computer it’s easier to make the pattern and print directly on the handmade paper.
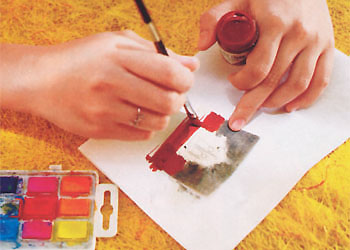
3. Paint the Background. You can use water color, poster paint, oil pastel or colored pencil for coloring the background. Wait for it to dry. Choose colors that will blend on the design you just made.
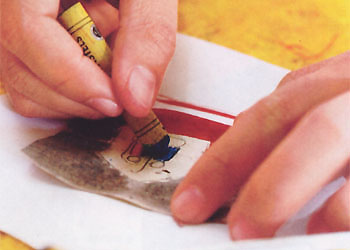
4. Paint or color the Subject or Focal Point of the Drawing. Its good to use oil pastel for large areas and the colored pencil so the lines will be defined. Trace the outline with a sign pen to enhance the design. You can also use different mediums for coloring and will be more attractive if you use various coloring medium.
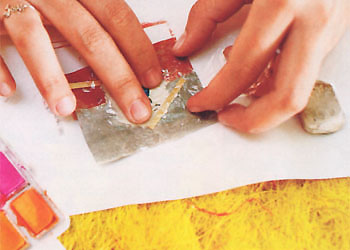
5. Put Life in Your Design. Be creative! use bamboo shavings, pieces of cloth, dried flowers and leaves, glitters and other things you can imagine to make it more realistic. Use bamboo stick on applying glue to make it cleaner and precise. Put a plastic sheet on the design and wipe with a piece of cotton cloth to remove the excess glue.
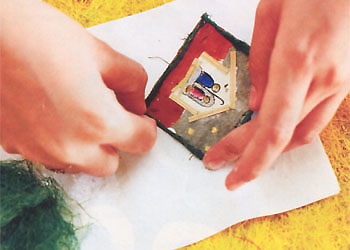
6. Put Borders. Apply glue on pieces or coconut fibers. Twist and roll it to make a small twine or rope. Cut and glue the rope-like coconut fibers to the sides of the handmade paper. This will serve as borders of the greeting card design.
7. Assemble the Card. Fold the 5″ x 10″ thick handmade paper in two, like a greeting card. Then glue the 3″ x 3″ handmade paper design which you have made previously on front of the card. Let it dry and put in the envelope. You can now sell it as a home based business or give it to your love ones.
Courtesy of: Batang Atikha Savers Club and Globe Masigasig

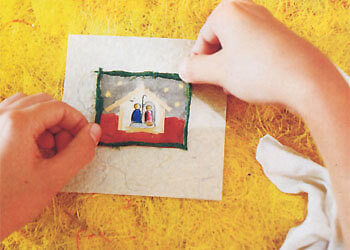
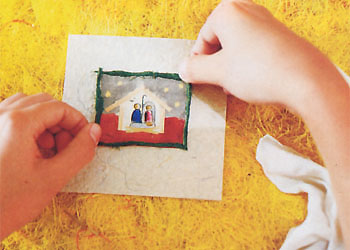


Perfect! We better teach our children how to do these fantastic holiday greeting cards ideas. There’s no better way to celebrate Christmas than to send greetings to the ones you love. Besides, the idea is commonly used for some charities for fundraising. This is the true spirit of gift-giving.
good day! aside from making stuffs like cards, do you offer fashion accessories seminars and trainings? or do you know any place or person to contact who caters it? thank you.
@nanette restar
I think TRC has trainings for making fashion accessories. Just browse this blog or use the search box on the top right side of this blog.